1. Elevating Walls with Floor-to-Ceiling Beadboard
Vertical beadboard lines have the power to instantly elevate a room, making even the most compact spaces feel airy and expansive. By extending the classic grooves from baseboard to cornice, designers can create a statement wall that tricks the eye into reading extra height. One notable renovation project showcased how full-height boards in a tiny powder room successfully pulled attention toward the ceiling beams, visually expanding the footprint without altering the structure. To achieve a seamless look, paint the boards in the same shade as the trim, or opt for a soft contrast hue to emphasize the texture. Secure the panels into studs, caulk the seams, and finish with a satin sheen to bounce light along every groove.
2. Mid-Ceiling Beadboard with Integrated Shelf Rail
A shoulder-level beadboard cap can multitask when paired with a narrow ledge, adding both style and functionality to a room. In farmhouse bathrooms, three-foot-high panels are often paired with a slim wood shelf that catches artwork, toiletries, or potted herbs without cluttering countertops. By mounting the shelf proud of the wall, it naturally protects the plaster from bumps while adding sculptural depth. To achieve a cohesive look, prime raw pine before installation and paint the shelf and panels the same color. Mount the rail with pocket screws from behind to keep hardware invisible, creating an easy Saturday upgrade that yields both storage and style.

As an Amazon Associate I earn from qualifying purchases.
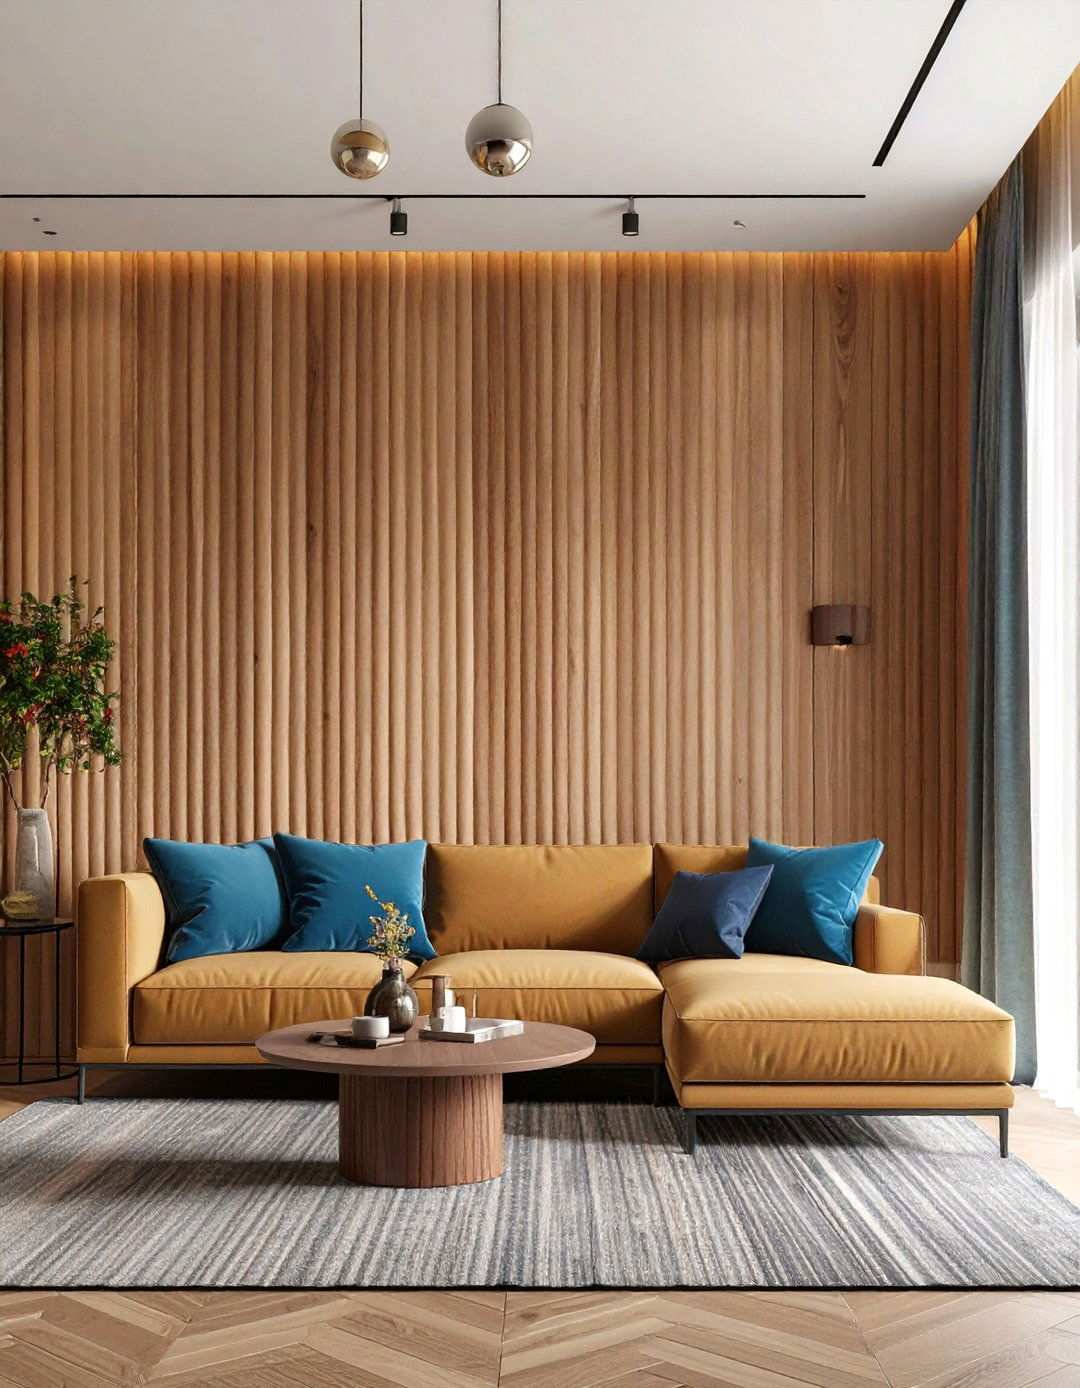
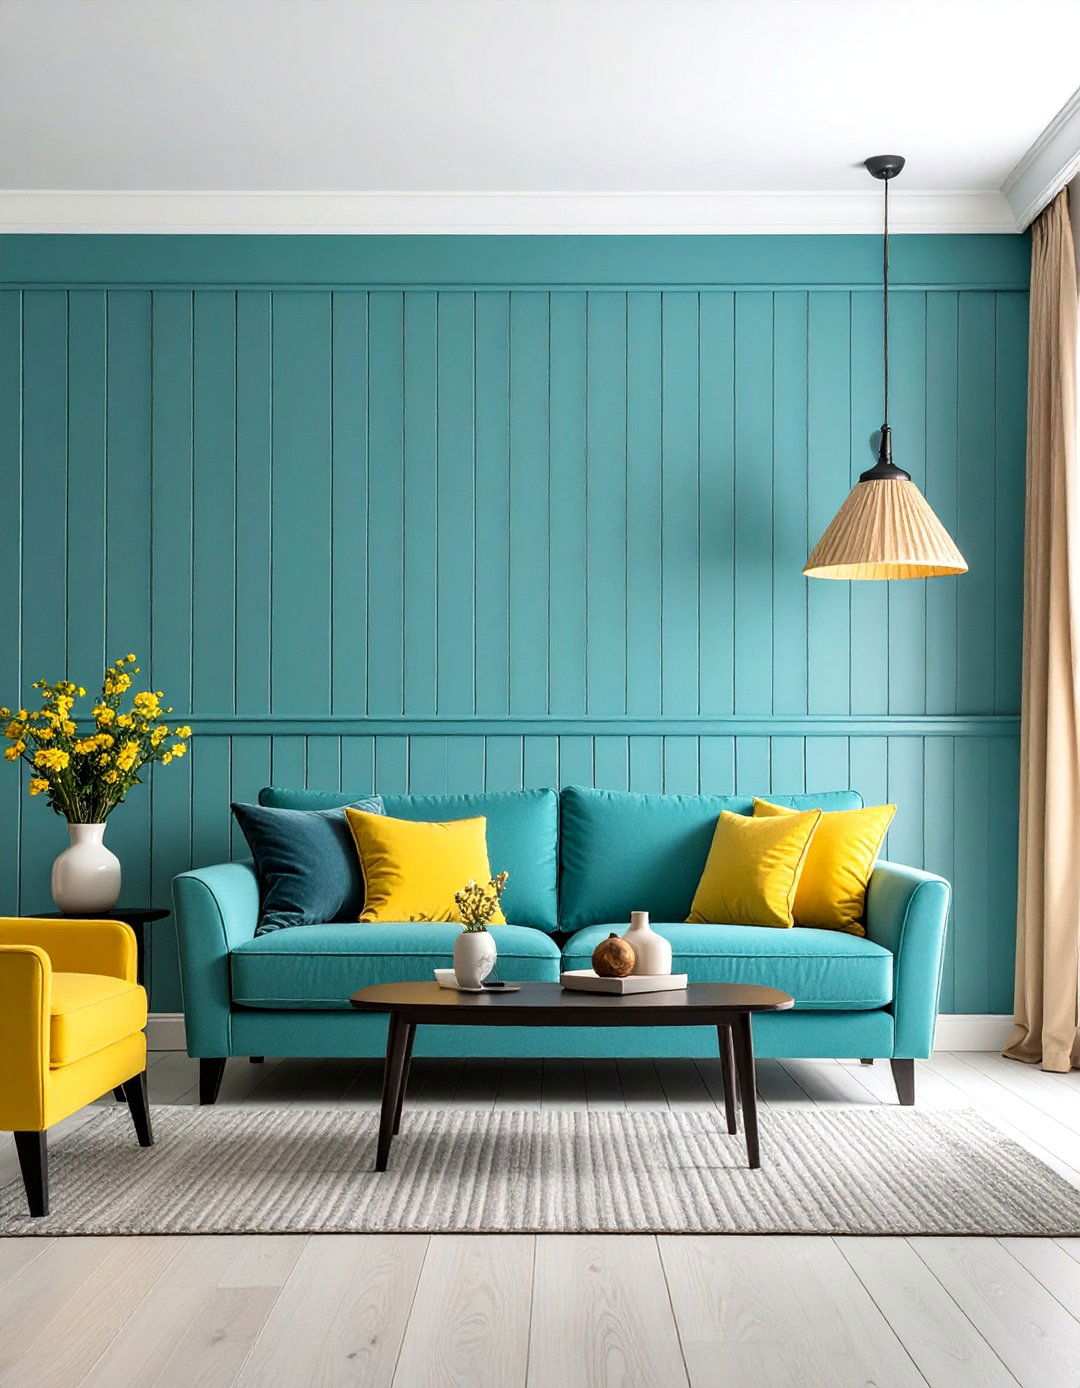
3. Moody Modernity with Dark-Painted Beadboard
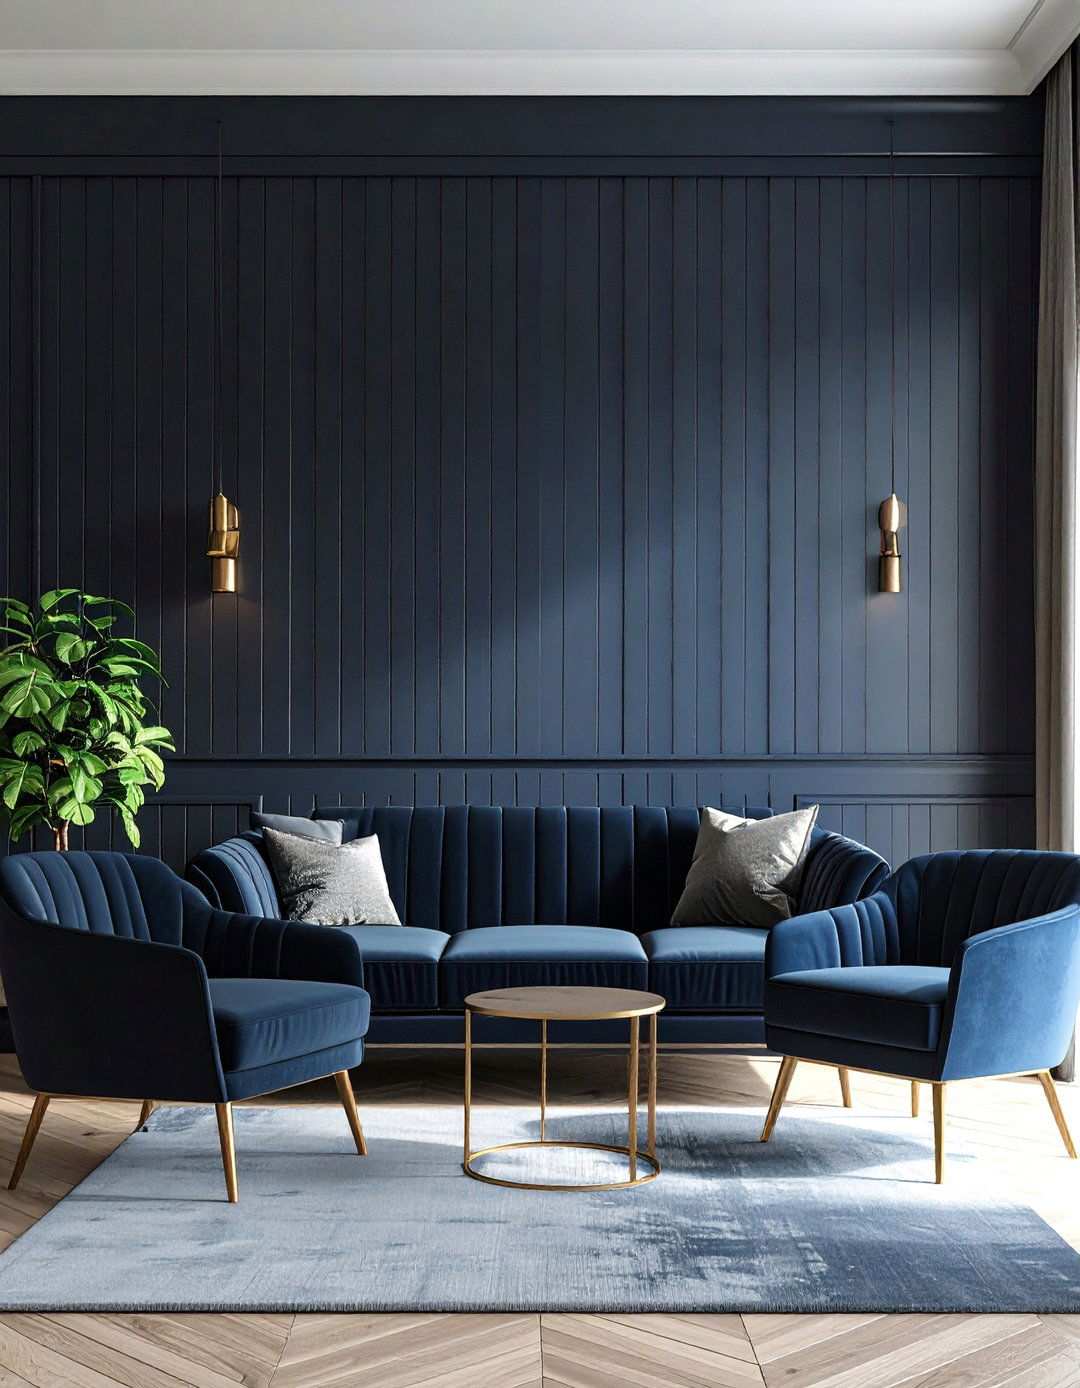
Beadboard is often associated with a cottage-white aesthetic, but it can also be used to create a sophisticated backdrop when brushed in rich, dark colors. As a 2025 wainscoting trend report highlights, warmer palettes are replacing sterile neutrals, giving classic paneling a cocoon-like vibe that designers describe as “a visual hug.” Dark pigment hides seams, magnifies the linear shadow play, and lets metallic accents shine. To achieve this look, use high-adhesion primer, spray two thin coats of matte enamel, and finish the trim in the same tone for a monolithic envelope. Layer with leather seating or velvety textiles to balance the boldness and discover that beadboard can read loft-worthy, not just country.
4. Elevating the Heart of the Kitchen with Beadboard Wraps
A subtle yet impactful makeover can be achieved by incorporating beadboard wraps on the kitchen island base. This design element can breathe new life into an older oak cabinet tower, transforming its appearance with a fresh texture. The horizontal orientation of beadboard is particularly beneficial as it resists scuff marks from stools and minimizes the visibility of inevitable shoe dings. To achieve a seamless look, nail lightweight MDF boards directly over existing surfaces, add corner trim, and caulk for a built-in appearance. Finish the beadboard with a wipeable satin enamel that harmonizes with the cabinet uppers or create contrast by choosing a different finish to turn the island into a striking focal point.
5. Creating the Illusion of Height with Ceiling-Climbing Beadboard
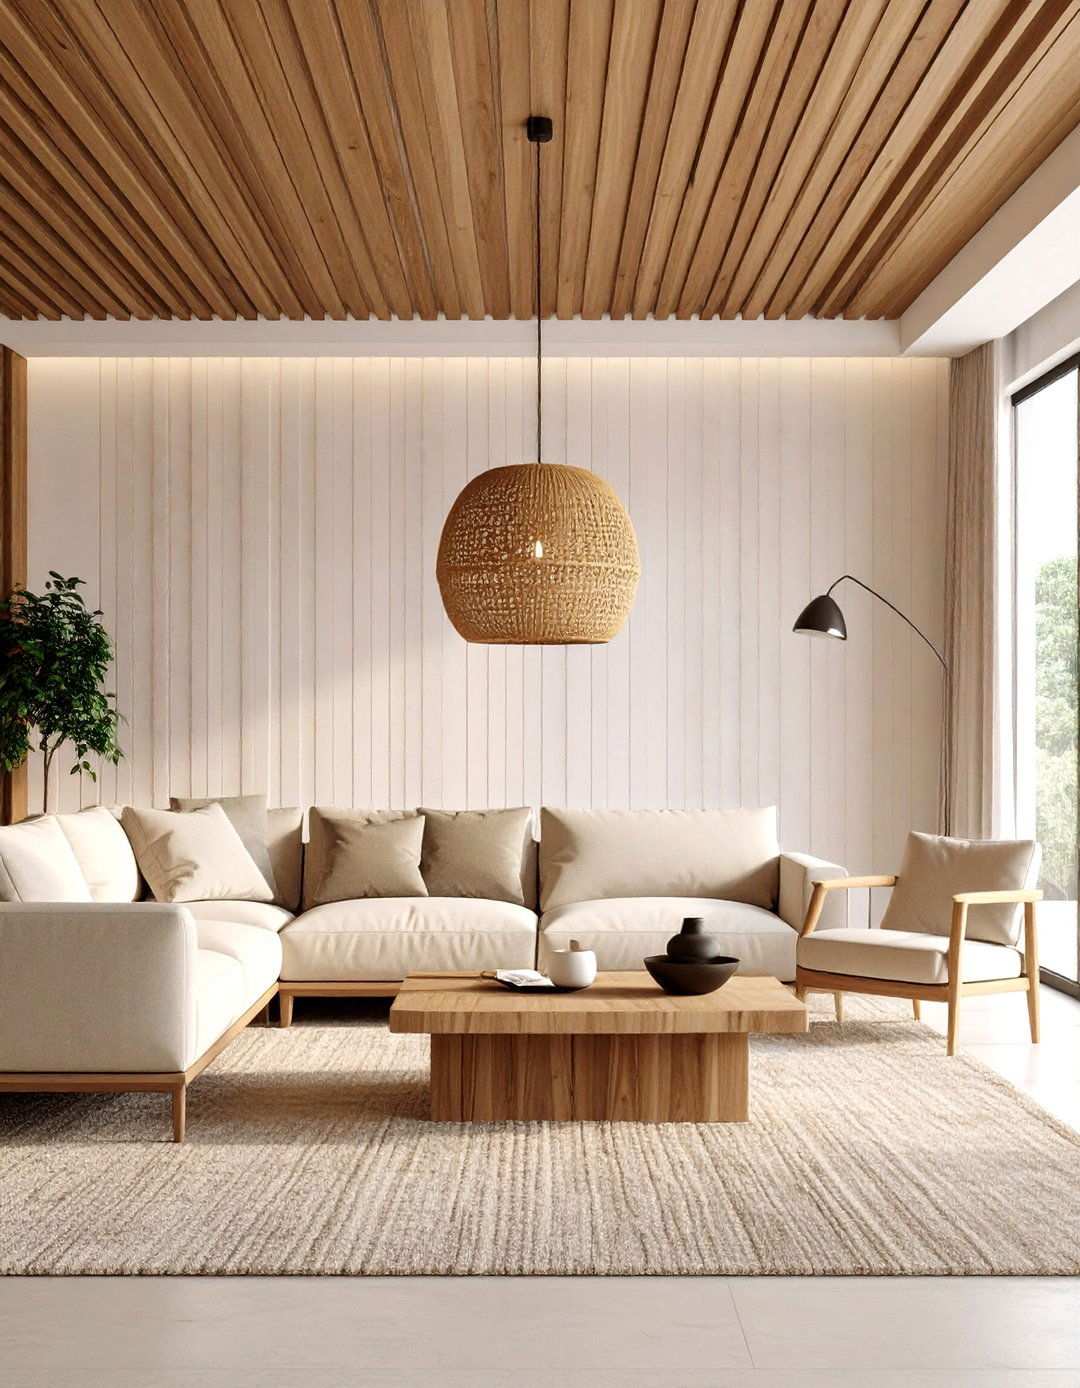
Research on period renovations has revealed the effectiveness of allowing beadboard to flow uninterrupted across the ceiling, creating a waterfall effect that unifies walls and ceiling into a single, cohesive shell. This design technique cleverly removes the visual stop typically created by crown molding, thereby lending compact spaces an air of loftiness. To execute this look, install wall boards first, followed by running matching grooves across ceiling joists, staggering seams in a manner similar to flooring. Use construction adhesive in conjunction with brad nails to prevent sagging. A single warm white tone can be used to unite both planes, while a statement pendant can add a touch of personality to the space. The result is an artisanal look that deceptively appears simple.
6. Architectural Polish with Two-Tone Beadboard Contrast
Consider dividing wall height with beadboard below and a contrasting paint or wallpaper above for an instant architectural upgrade. Color specialists recommend pairing rich, lower panels with lighter uppers to create a sense of balance and allow artwork to take center stage. Maintaining the chair-rail break also simplifies future color swaps, as you can refresh the mood by repainting only the upper section. When ceilings are tall, install the rail slightly above the traditional thirty-two inches to ensure pleasing proportions. To ensure durability against foot traffic and pet paws, caulk, sand, and paint the beadboard with scrubbable semi-gloss, while opting for a flat finish above to minimize glare.
7. Budget-Friendly Beadboard Backsplash Alternatives
Beadboard can serve as a cost-effective replacement for pricey tile behind a stove when sealed correctly. A kitchen design profile highlights rooms where a tall beadboard backsplash, painted to match the walls, delivers airy charm without overpowering marble counters. To prepare the panels for installation, prime them, and then install horizontally to minimize moisture-wicking seams. Top-coat with high-heat enamel or clear polyurethane, and finish the edges with a slim metal channel for easy wipe-down. Due to the straightforward nature of the cuts, most DIYers can complete this swap in a single afternoon, freeing up funds for upgraded hardware or appliances.
8. Whimsical Beadboard Accents Bring Personality to Small Bathrooms
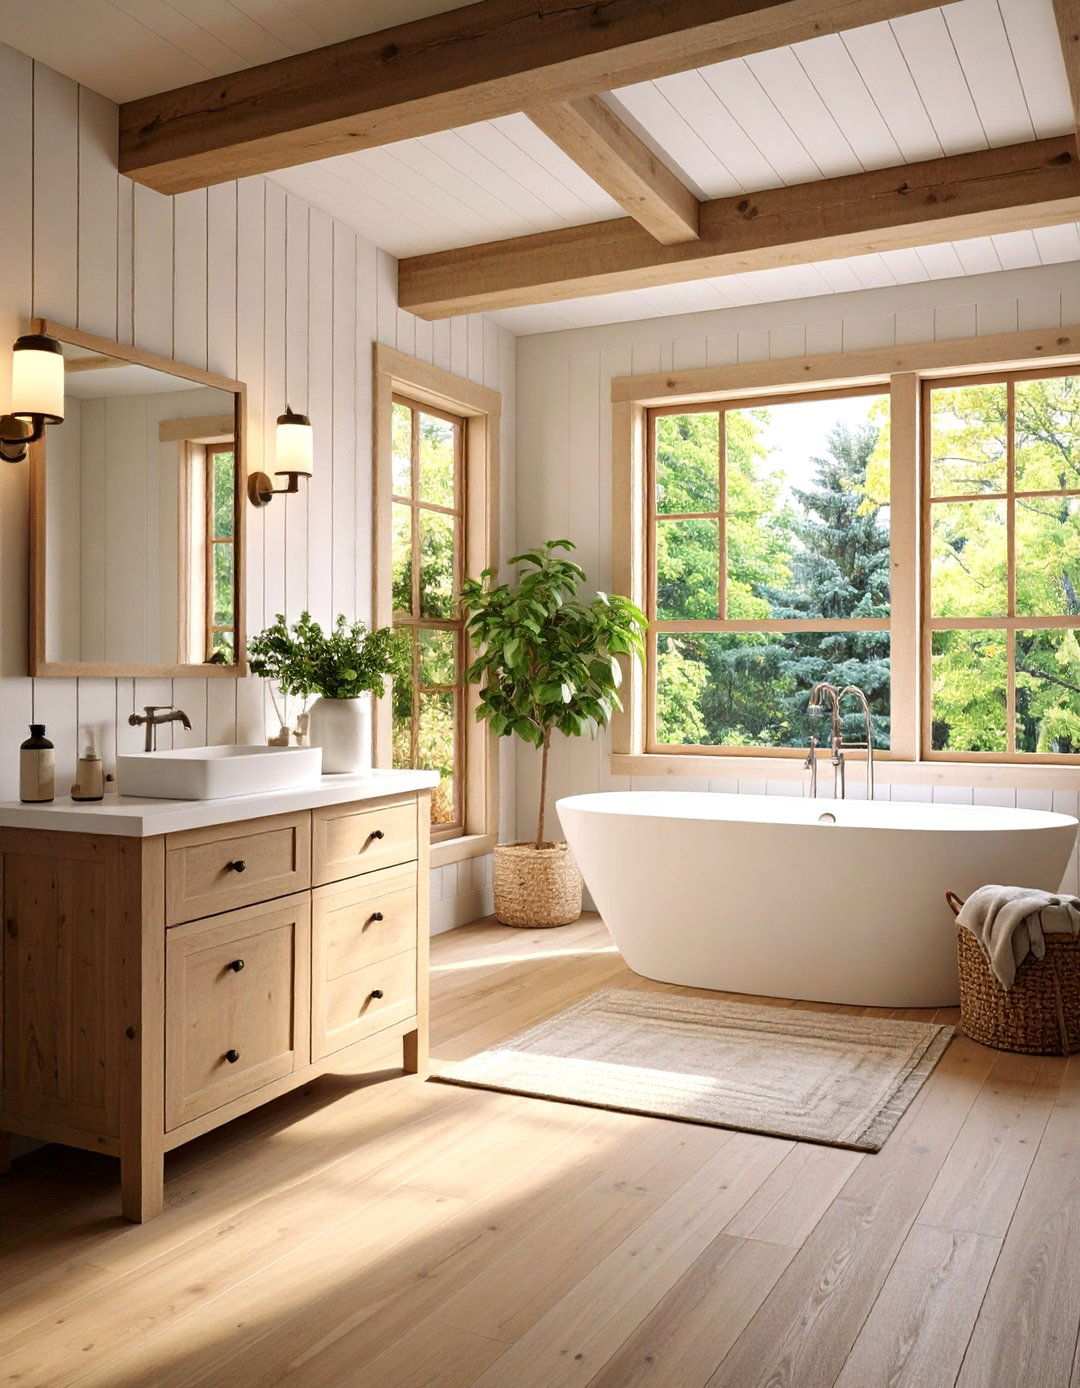
Infuse a compact bathroom with a touch of storybook charm by installing beadboard panels that stretch above the mirror and intersect with exposed beams. This aesthetic upgrade not only creates a visually appealing contrast but also serves as an effective barrier against moisture damage, safeguarding drywall from steam. Opt for moisture-resistant MDF or PVC panels, taking care to leave minimal gaps for expansion, and apply a mildew-resistant primer and mold-resistant paint to ensure long-term durability. As a finishing touch, incorporate a simple pine ledge for soap dishes or vintage bottles, which will add a rustic flair to the space. The juxtaposition of beadboard with dated tile floors will create an intentional and eclectic look that defies the need for expensive stone accents.
9. Harmonious Monochromatic Beadboard Spaces
Drowning a room in a single, saturated hue is an effective way to create a cozy, jewel-box effect that exudes a sense of timelessness and modernity. Designers are increasingly turning to bold statements by painting both beadboard and walls in the same rich color, often choosing a monochromatic palette that emphasizes texture over contrast. This approach allows furnishings to take center stage while also creating a soothing environment that envelops the senses. When selecting a finish, consider a durable eggshell option that won’t show brush strokes or drips, ensuring a smooth and even appearance. Before applying paint, lightly sand the factory primer to create a smooth surface and wipe down the beadboard with a tack cloth to prevent debris from accumulating in the grooves. Finally, swap standard outlet covers for color-matched versions to maintain the room’s immersive aesthetic.
10. Beadboard Protection and Style in the Mudroom
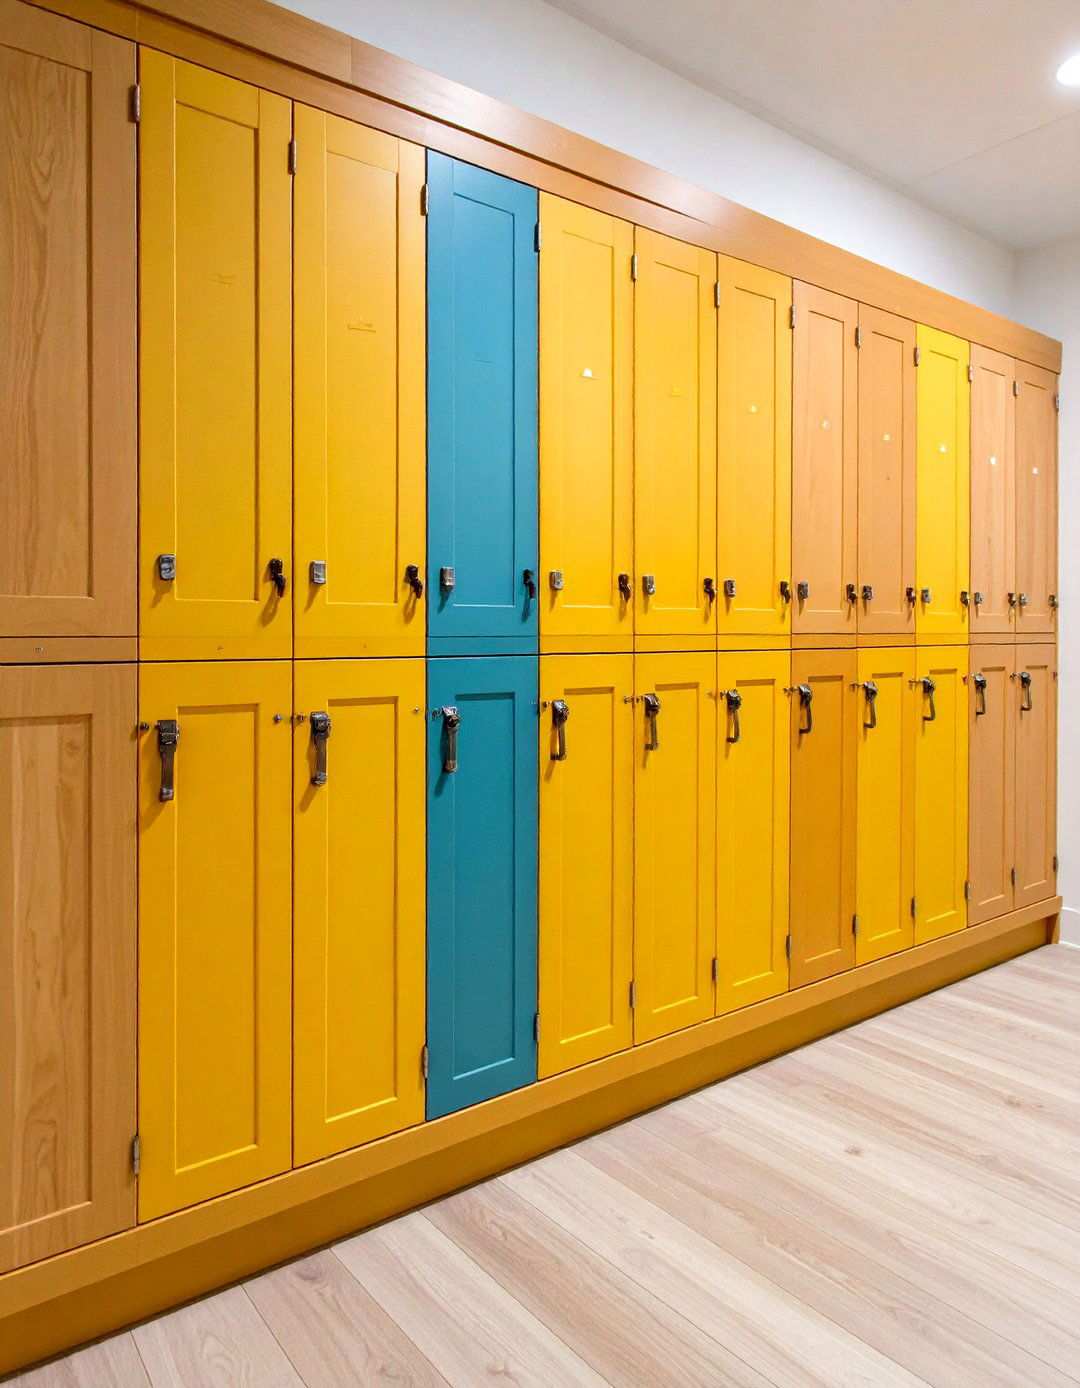
When it comes to mudrooms, durability and functionality are key. Beadboard lining the back of cubbies or open lockers not only protects drywall from damage but also adds a touch of welcoming, cottage-inspired charm to the space. By extending consistent-width boards from floor to ceiling, restoration architects can create a sense of cohesion and craftsmanship, even in utility zones. For added durability, use PVC panels to shield against wet coats, and screw boards into plywood before installing hooks. Paint the beadboard in a mid-tone color that won’t show scuffs, and label each locker with metal nameplates for a touch of industrial chic. The linear texture of beadboard helps to hide fingerprints, making it easier to maintain a tidy appearance between wipe-downs.
11. Diagonal Beadboard Installation Adds Visual Interest
Rotating beadboard panels by forty-five degrees can turn a small reading nook into a statement piece of geometric art. Online project galleries showcase how diagonal installation catches light differently and draws attention to otherwise overlooked cavities. When tackling this installation, cut the panels oversized, mark stud locations, and use a sliding square to ensure the grooves remain true as you nail upward. Finish the edges with mitered lattice trim for a picture-frame effect, and stain the beadboard rather than paint it for a warm, Scandinavian-inspired look. Add a plush cushion, a sconce, and a stack of books, and your once-blank corner will be transformed into a bespoke, built-in feature that exudes personality and charm.
12. Blending Board-and-Batten Geometries
By strategically positioning wider battens over beadboard, you can merge two classic millwork patterns into a visually appealing, textured design. A cost-effective approach is to use furring strips, which can be sourced for under two dollars, to create a board-and-batten rhythm atop affordable ribbed panels. This method slashes material costs compared to using solid MDF. Begin by planning the batten spacing on paper, aiming for panels that are roughly door-width to achieve a pleasing cadence. To install, adhere the battens with construction adhesive and nails, caulk every inside edge, and then prime and apply two coats of durable latex paint. The resulting design adds depth, masks any beadboard seam, and exudes a contemporary, yet rooted feel – making it perfect for dining rooms that crave subtle drama.
13. Focal Point Headboard in the Bedroom
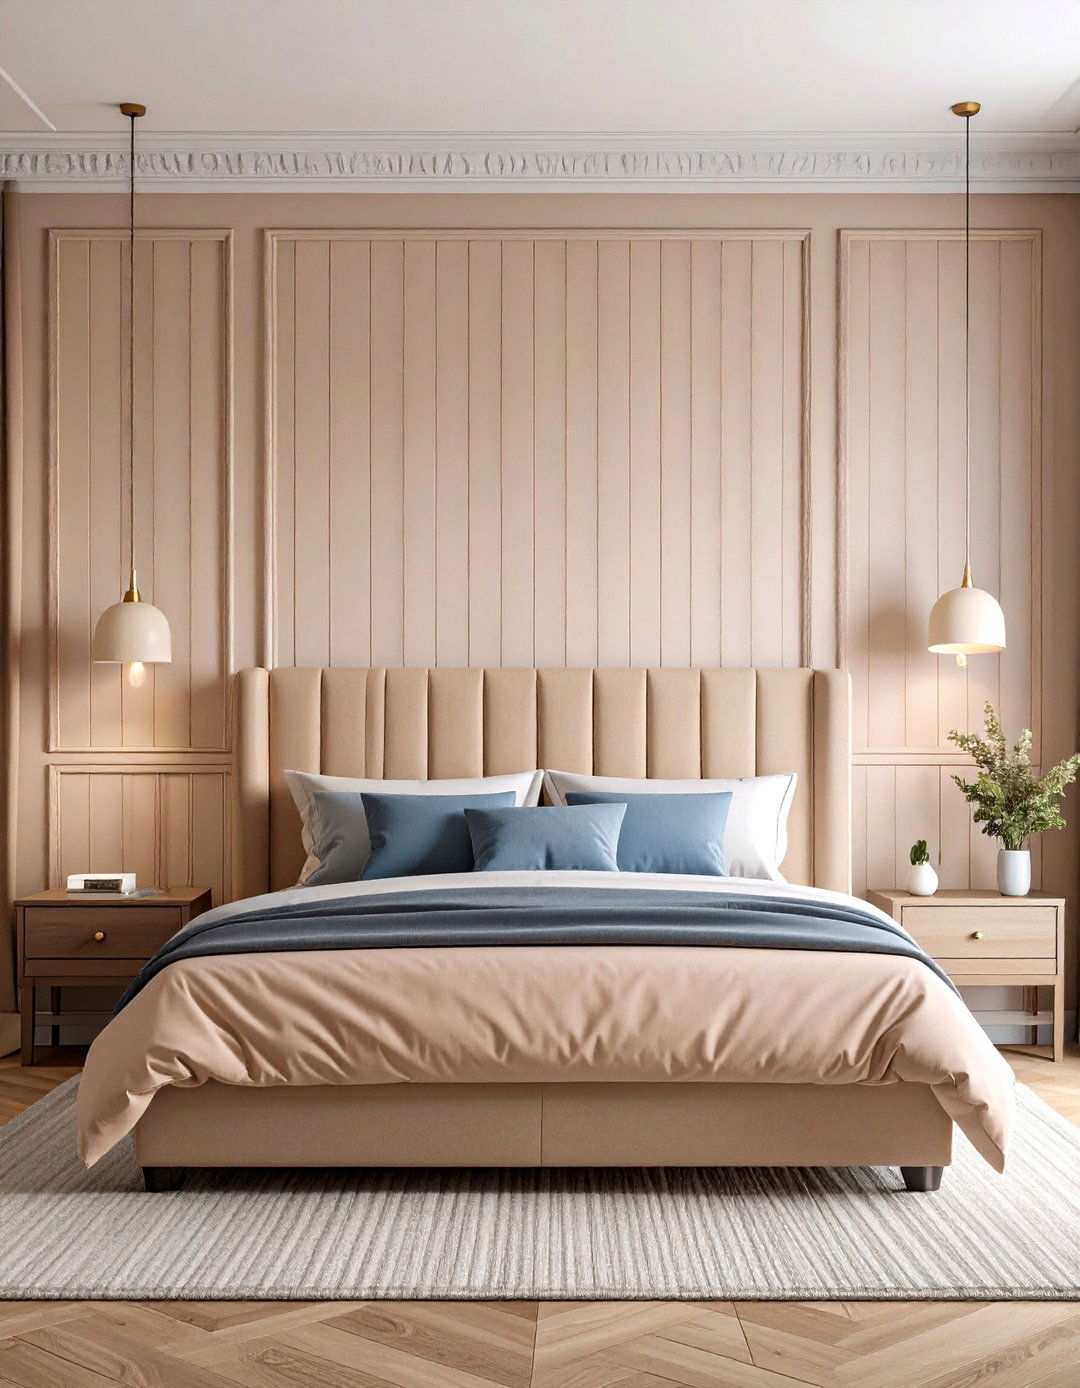
Restful bedrooms benefit from the soothing effect of gentle vertical grooves that frame the bed, creating an oversized headboard that softly addresses echo. According to a home-improvement expert, beadboard’s ability to transform a blank wall into a focal point lies in its versatility, blending seamlessly with various styles while remaining easy to repaint as tastes shift. To create this look, mount panels that are only as wide as the mattress plus nightstands, then finish the edges with half-round molding for a built-in appearance. Opt for a matte pastel paint for serenity or a deep teal for a boutique-hotel flair. When installing sconce wiring, add it beforehand, hiding cables behind the grooves for a seamless, warm glow.
14. Beadboard's Modern Relevance on Flat-Panel Doors
The resurgence of skinny-rib profiles on contemporary flat-panel doors demonstrates beadboard’s capacity to transcend nostalgia. A recent trend round-up showcases kitchens where fine grooves create subtle shadow play that beautifully pairs with slab quartz and integrated pulls. To achieve this look, use pre-grooved MDF door fronts or apply reeded strips to existing doors, sand, and then spray a durable lacquer finish. The result is a finish that stays crisp for longer due to the hidden micro-scratches. For added visual interest, match the wall beadboard by applying it in a perpendicular direction to highlight the joinery. To maintain a clean, linear look, limit the upper cabinets to prevent the design from feeling busy.
15. Aquatic Oasis: Beadboard Sunroom Makeover
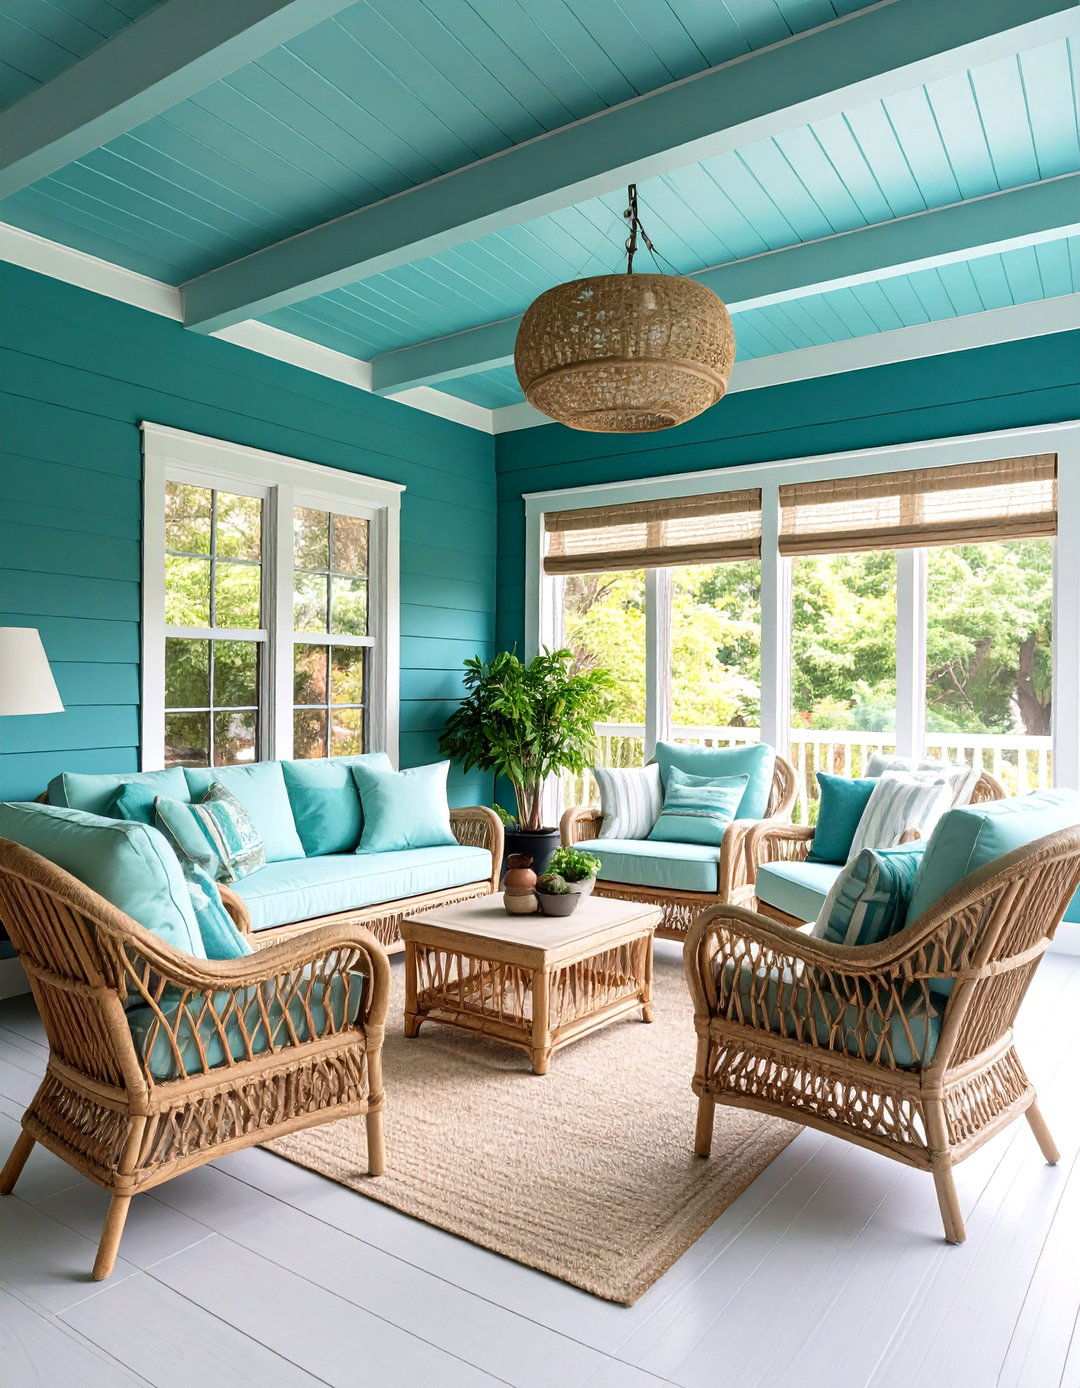
Seeking a breezy, resort-like atmosphere? Painting beadboard walls and ceilings in a soothing sea-glass aqua instantly evokes the feeling of palm-fanned verandas. For a cohesive look, color inspiration guides recommend pairing beachy tones with plenty of white trim to keep the palette light. When working with humid areas like sunrooms, opt for mildew-resistant paint to ensure the finish remains durable. Choose PVC boards that can withstand condensation, and accent the grooves with rope-hung blinds and rattan seating. As the sun sets, install uplights at floor level, allowing the ribs to cast gentle stripes reminiscent of moonlit waves – transforming your staycation space with a single, striking paint choice.
16. Artistic Flexibility through Beadboard Gallery Walls
Interior designers often recommend using beadboard as a versatile canvas for showcasing an array of art pieces. By mounting beadboard across a feature wall, homeowners can leverage its built-in rhythm as a subtle guide for strategically placing frames. One of the key benefits of using molding styles like beadboard is their ability to add depth while allowing bold colors or accessories to take center stage. To maintain the flexibility of the design, invisible French cleats can be screwed through panel seams, making it easy to reposition frames without creating new holes. In terms of aesthetics, beadboard can be painted in a neutral hue that complements the varied art pieces, or go for a tone-on-tone approach to keep the focus on the canvases.
17. The Sculptural Touch of Beadboard Curved Archways
Traditional archways often feature plain drywall returns, but incorporating beadboard into the design can create a unique visual interest at eye level. According to interior trend commentators, gentle arches can evoke a sense of womb-like comfort, and the use of thin, flexible corner bead allows paneling to conform neatly around the radius. To achieve this look, homeowners can score the back of MDF sheets or use thermo-formed PVC, gluing the panels in stages before capping the edges with flexible molding. Filling the arch with beadboard not only adds texture but also creates a beautiful silhouette when lit from within. For a seamless transition between rooms, the arch can be painted in a color that blends with the surrounding space, or contrasting paint can be used to create a sense of framing around the rounded opening.
18. Transforming Hallways with Beadboard Wainscoting
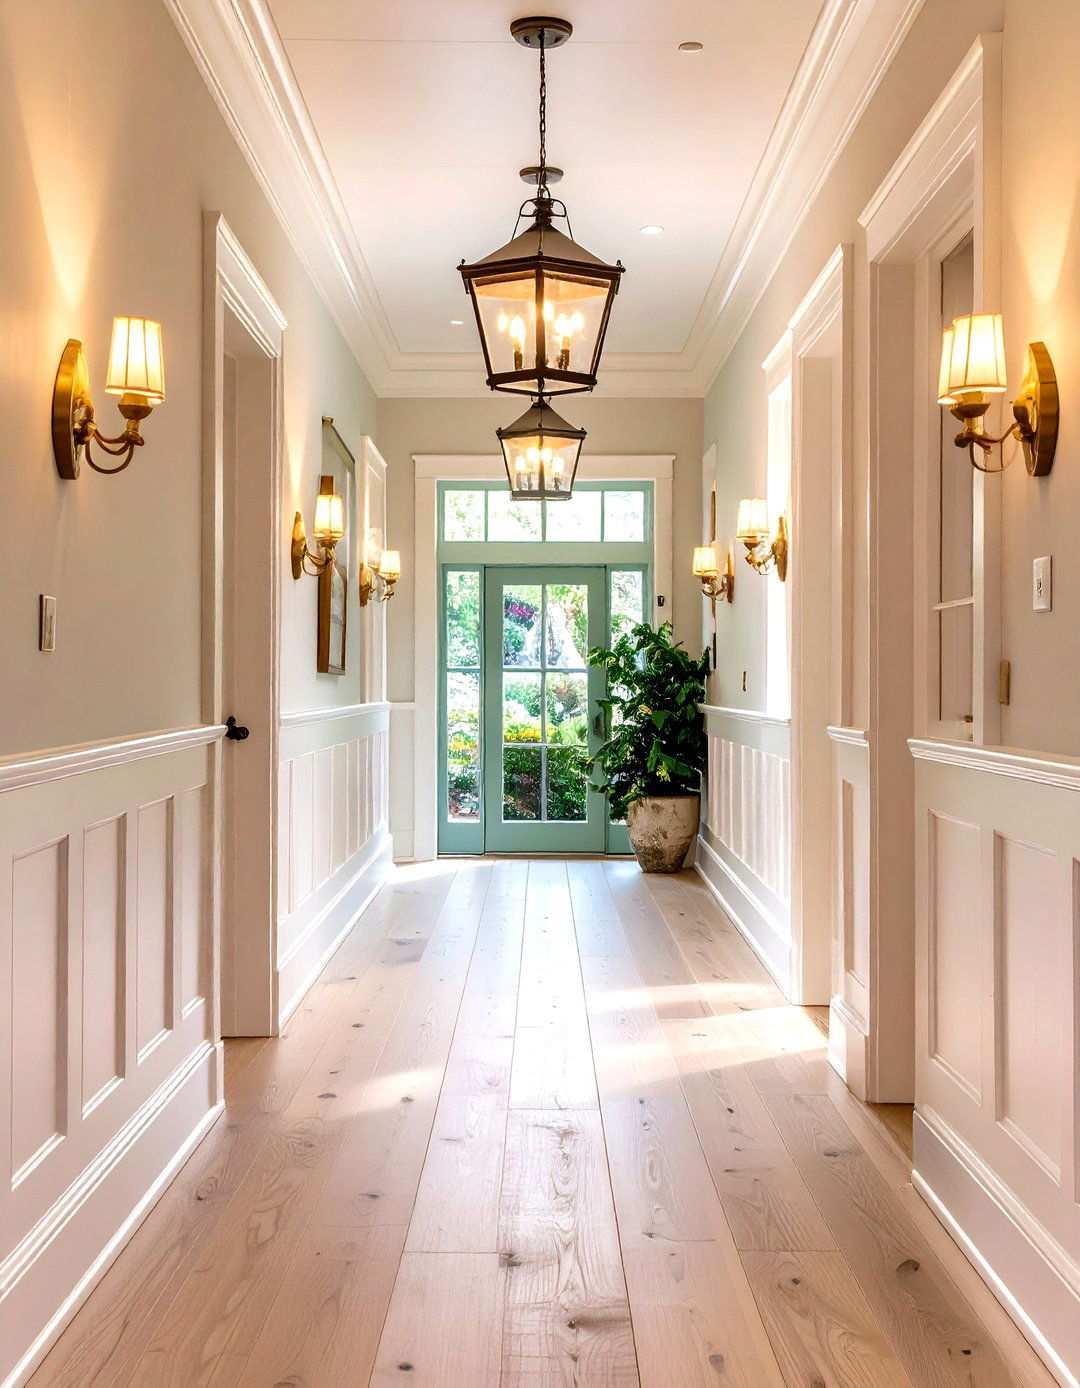
Narrow corridors can often feel like forgotten passages, but incorporating beadboard wainscoting with hooks can turn them into functional galleries. Inspiration galleries showcasing board-and-bead combinations emphasize the use of low-cost furring strips to create structure, topped with a mix of brass hardware for coat storage. To maintain functionality, the rail should be kept at sixty inches to allow for hanging bags, and semi-gloss paint can be used to ensure wipeability in high-traffic areas. The groove shadows on the beadboard panels can help mask everyday scuffs, while the hooks encourage family members to stash items neatly, reducing clutter without the need for bulky furniture.
19. The Durable Beauty of Outdoor Porch Beadboard Ceilings
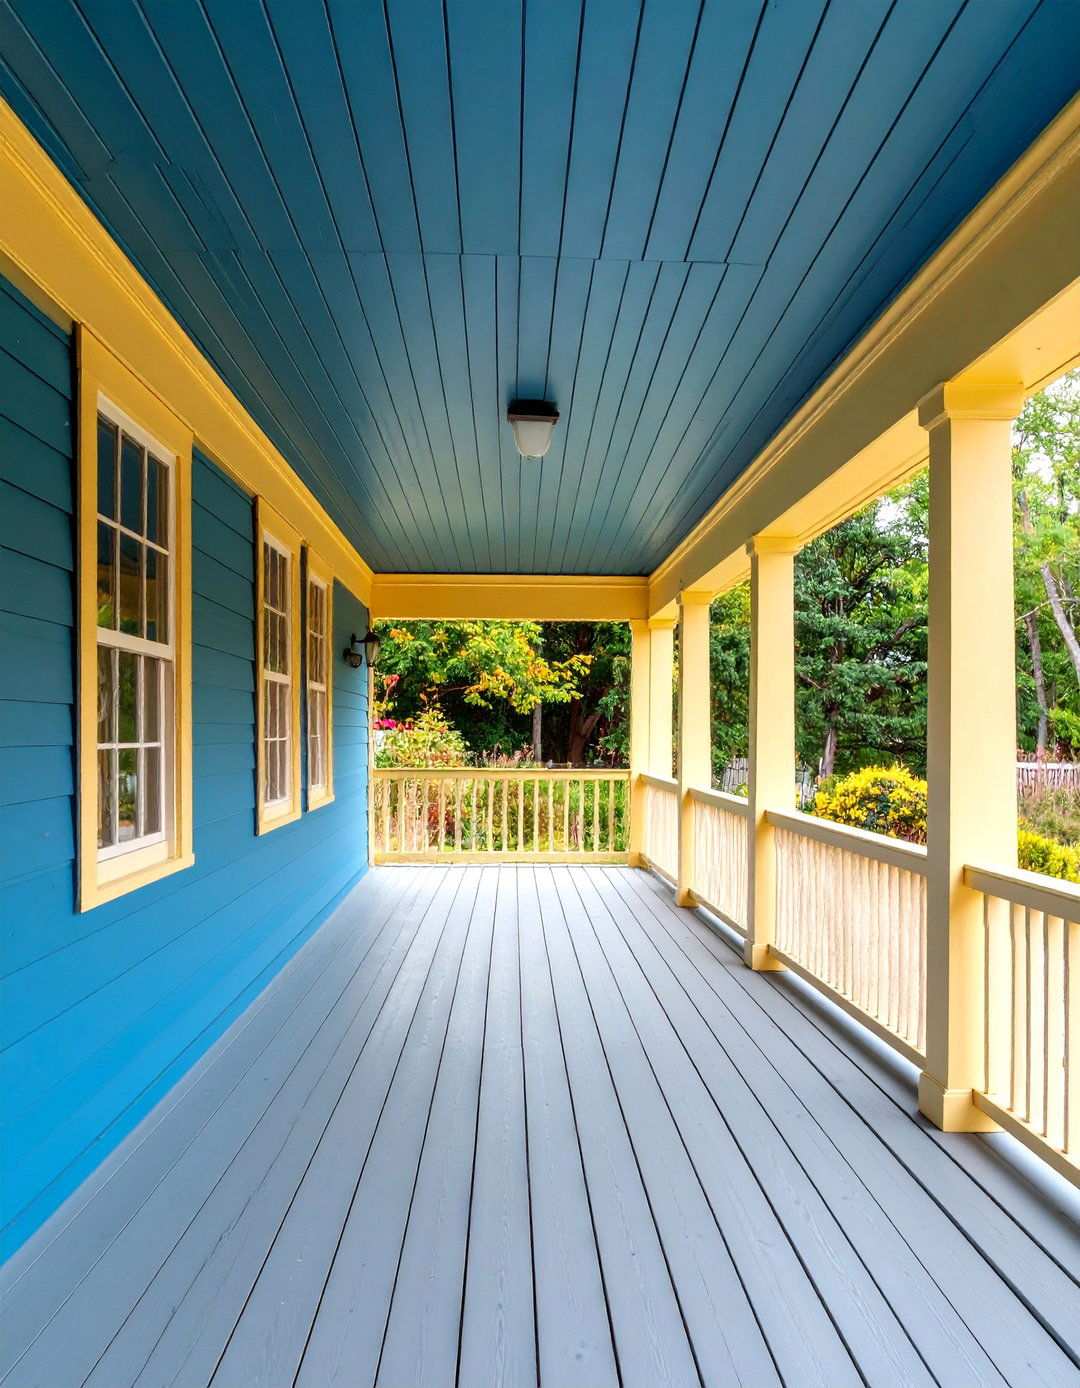
Unlike traditional wood planks that can warp under humidity, modern fiber-cement beadboard panels offer a rot-resistant, insect-proof, and moisture-resistant option for covered porches. Manufacturers highlight the benefits of boards that mirror the texture of timber yet outlast the elements with minimal upkeep. To ensure a seamless installation, the panels should be installed perpendicular to joists, leaving expansion gaps per guidelines. Prime the cut edges and finish with exterior acrylic to seal the cement core, extending the same boards down onto knee walls to blur indoor-outdoor boundaries. A soft eggshell white can be used to reflect daylight upward, cooling seating areas while preserving the nostalgic charm of traditional verandas.
20. A Temporary Solution for Texture Enthusiasts
Tenants or homeowners on the fence about making long-term commitments can now incorporate texture into their rental spaces using peel-and-stick vinyl beadboard wallpaper. Retail descriptions highlight the product’s water-resistant and oil-resistant properties, making it easy to clean and ensuring that it doesn’t leave any residue when removed. To achieve a seamless look, it’s essential to measure the walls accurately, cut the strips carefully with a sharp knife, and overlap the seams slightly. The result is a convincing imitation of traditional beadboard, with the added benefit of being paper-thin. To complete the illusion, finish the top edge with decorative foam molding and secure it using removable strips. When it’s time to vacate the premises, you can simply pull a corner and remove the entire installation in a matter of minutes, leaving no damage behind and your security deposit intact.